Terminology note: Spaces are sometimes referred to as Projects in Flatfile conversations - this is because we often consider a Space to be a single import or series of imports from a single end-customer, or, a “Project”.
Anatomy
The following example depicts a Space with:- 1 Document named Customers
- 2 Workbooks:
- Customers Workbook
- 3 Sheets named Customers, Orders, and Products
- Company Workbook
- 3 Sheets named Users, Departments, and Projects
- 2 Workbook Actions labeled Download and Submit
- Customers Workbook
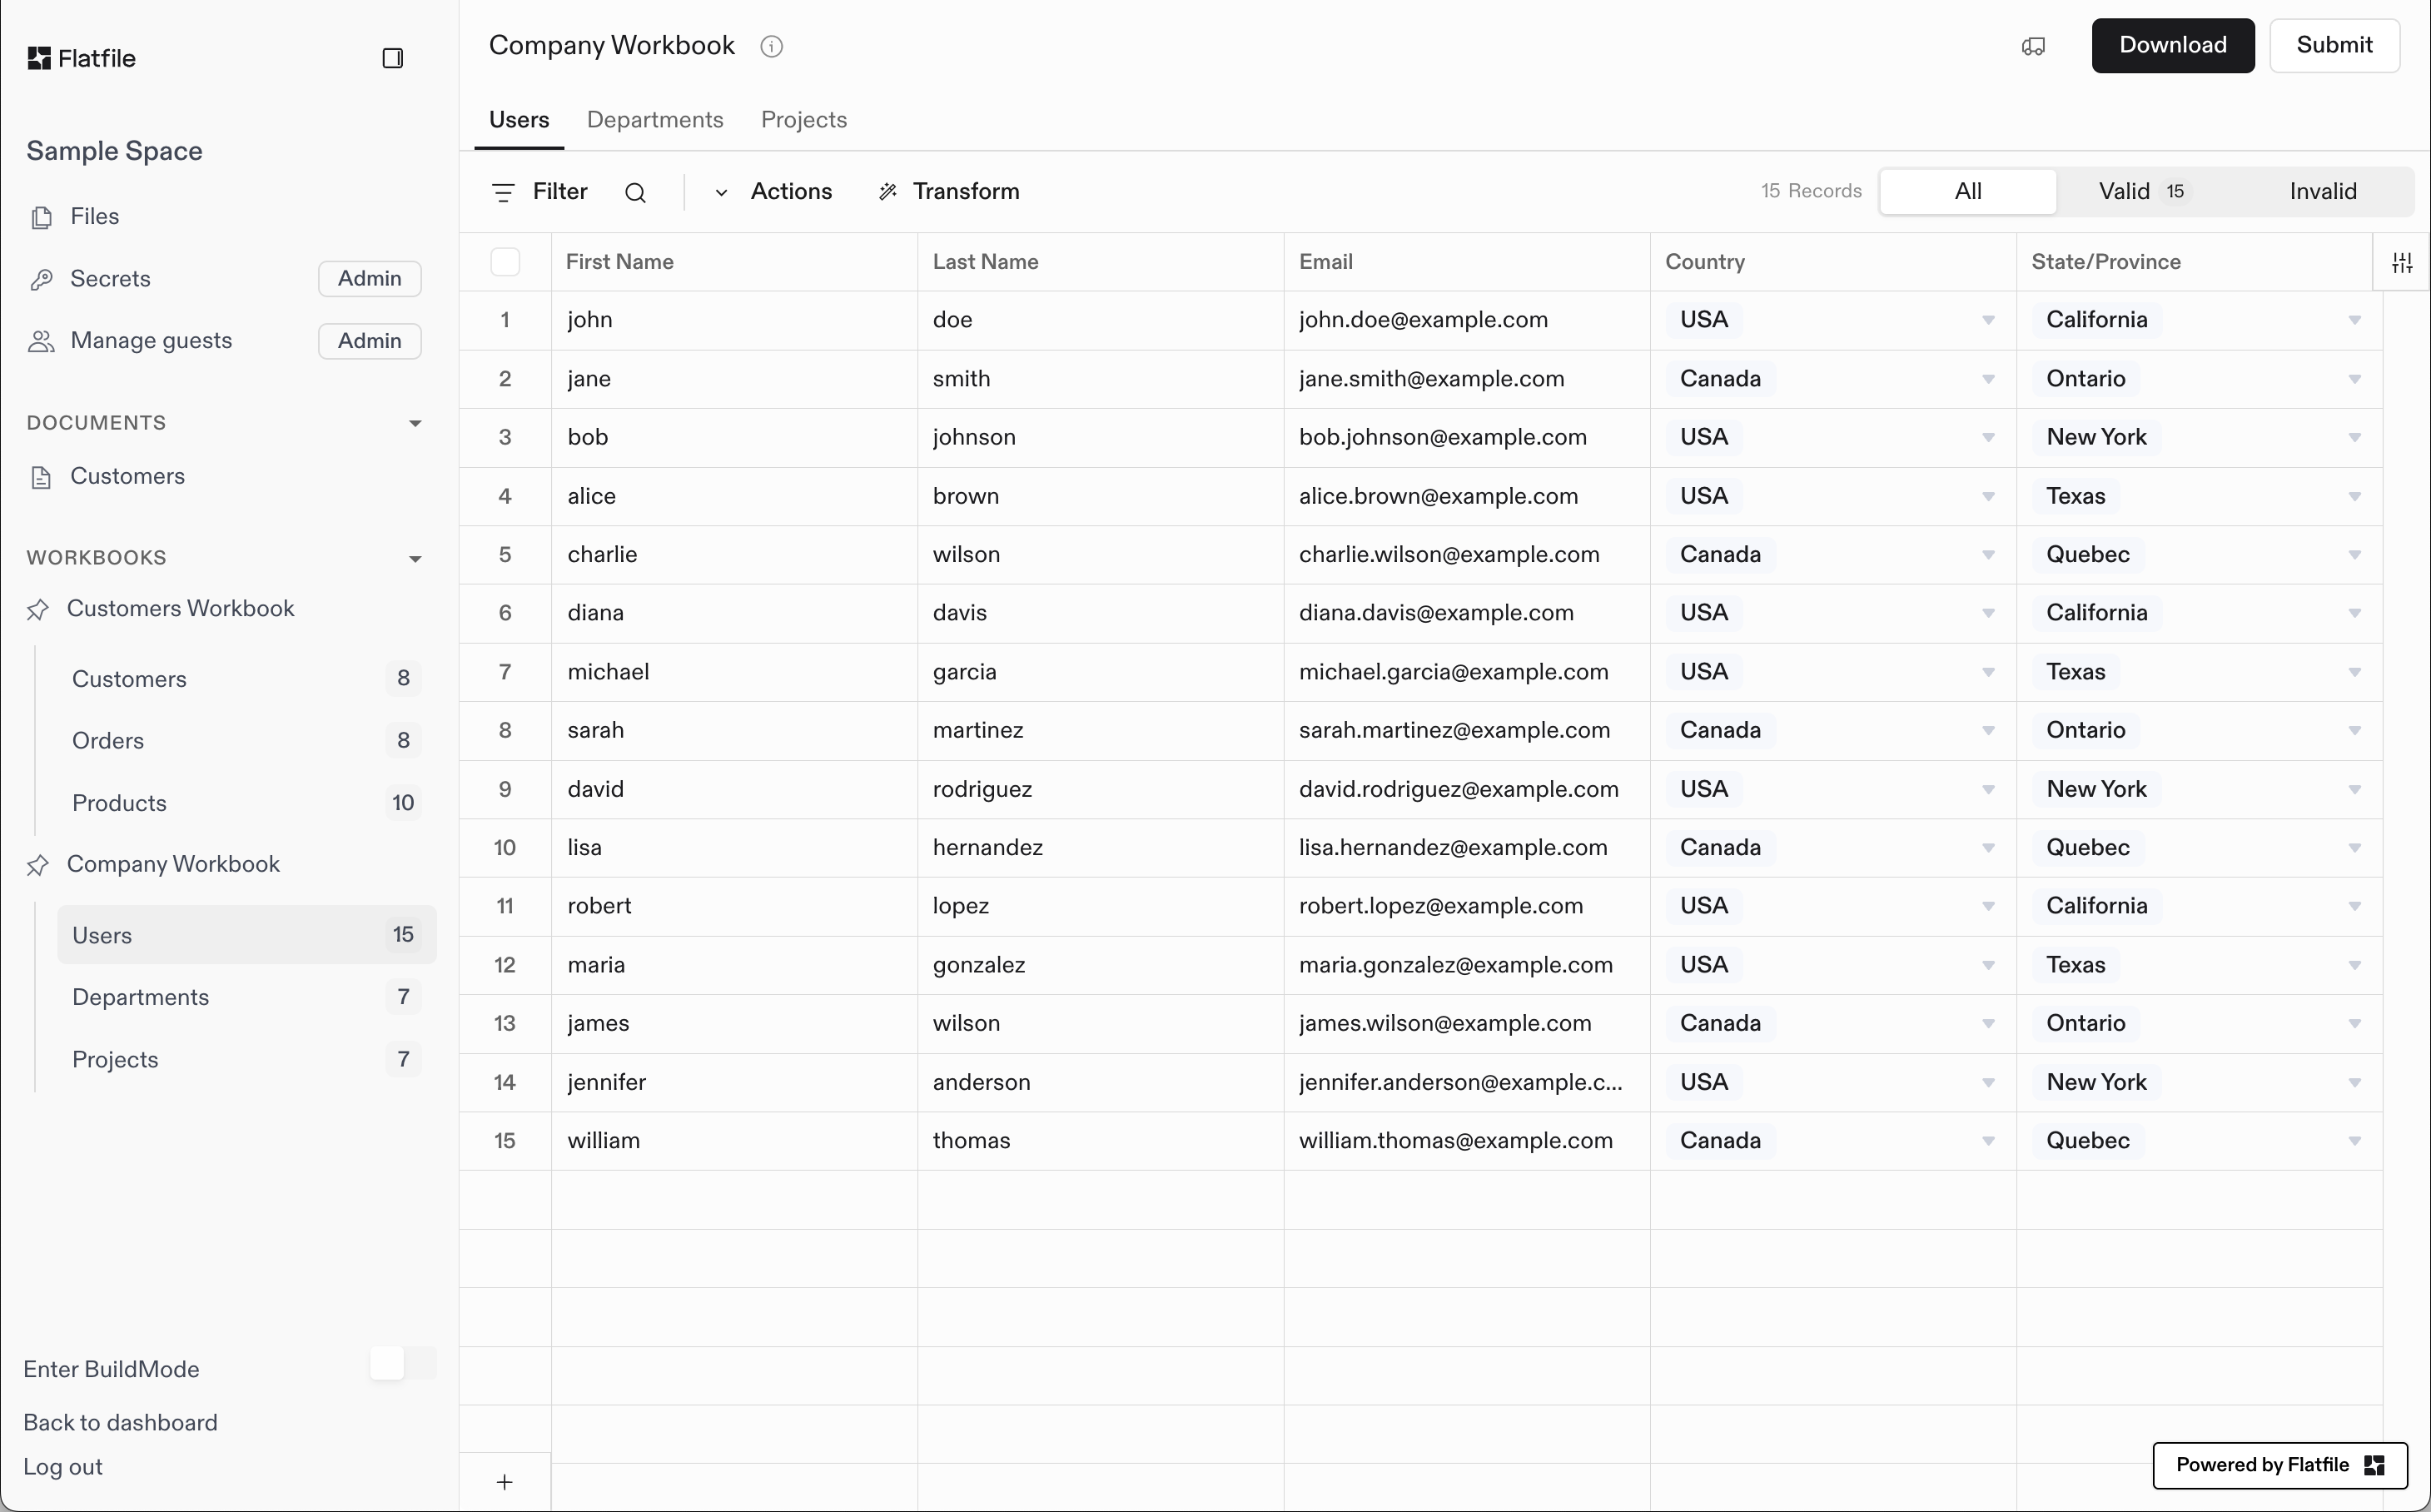
An example of a fully-configured space
Basic Blueprint Structure
- A Blueprint defines the data structure for any number of Spaces
- A Space may contain many Workbooks and many Documents
- A Document contains static documentation and may contain many Document-level Actions
- A Workbook may contain many Sheets and many Workbook-level Actions
- A Sheet may contain many Fields and many Sheet-level Actions
- A Field defines a single column of data, and may contain many Field-level Actions
Blueprints and Space Configuration
Every Space has exactly one Blueprint that defines its data structure. When you configure a Space by creating workbooks, sheets, and fields, you’re defining the Space’s Blueprint - the schema that controls how data should look, behave, and connect within that Space. The Blueprint is established during thespace:configure Job and remains consistent throughout the Space’s lifecycle (though you can change it via the API at any time). This ensures all data imported into the Space follows the same structure and validation rules you’ve defined.
By default, the same Blueprint configuration is applied to all Spaces unless you namespace your listeners to specific scopes. This makes it easy to maintain consistent data structures across multiple Spaces for similar use cases or different customers with the same data requirements.
Creating Spaces
Spaces can be created manually via your Flatfile Dashboard, or — quite commonly — programmatically via the Flatfile API. Here are some example workflows for creating Spaces:Backend Automation
When integrating Flatfile into your application workflows:- CRM Integration: When a customer in your CRM moves to the “onboarding” stage, you may create a new Space via the API for them to complete their data onboarding process.
- Account Creation: When a new account is created in your application, you may automatically create a new Space for them via the API.
User-Initiated Creation
For direct customer collaboration and embedded applications:- Direct Collaboration: When working with a new customer directly, you may create a new Space via the Dashboard and invite them to the Space.
- Embedding Flatfile: In an Embedded App, you may create a new Space every time a user clicks a button to start a new import.
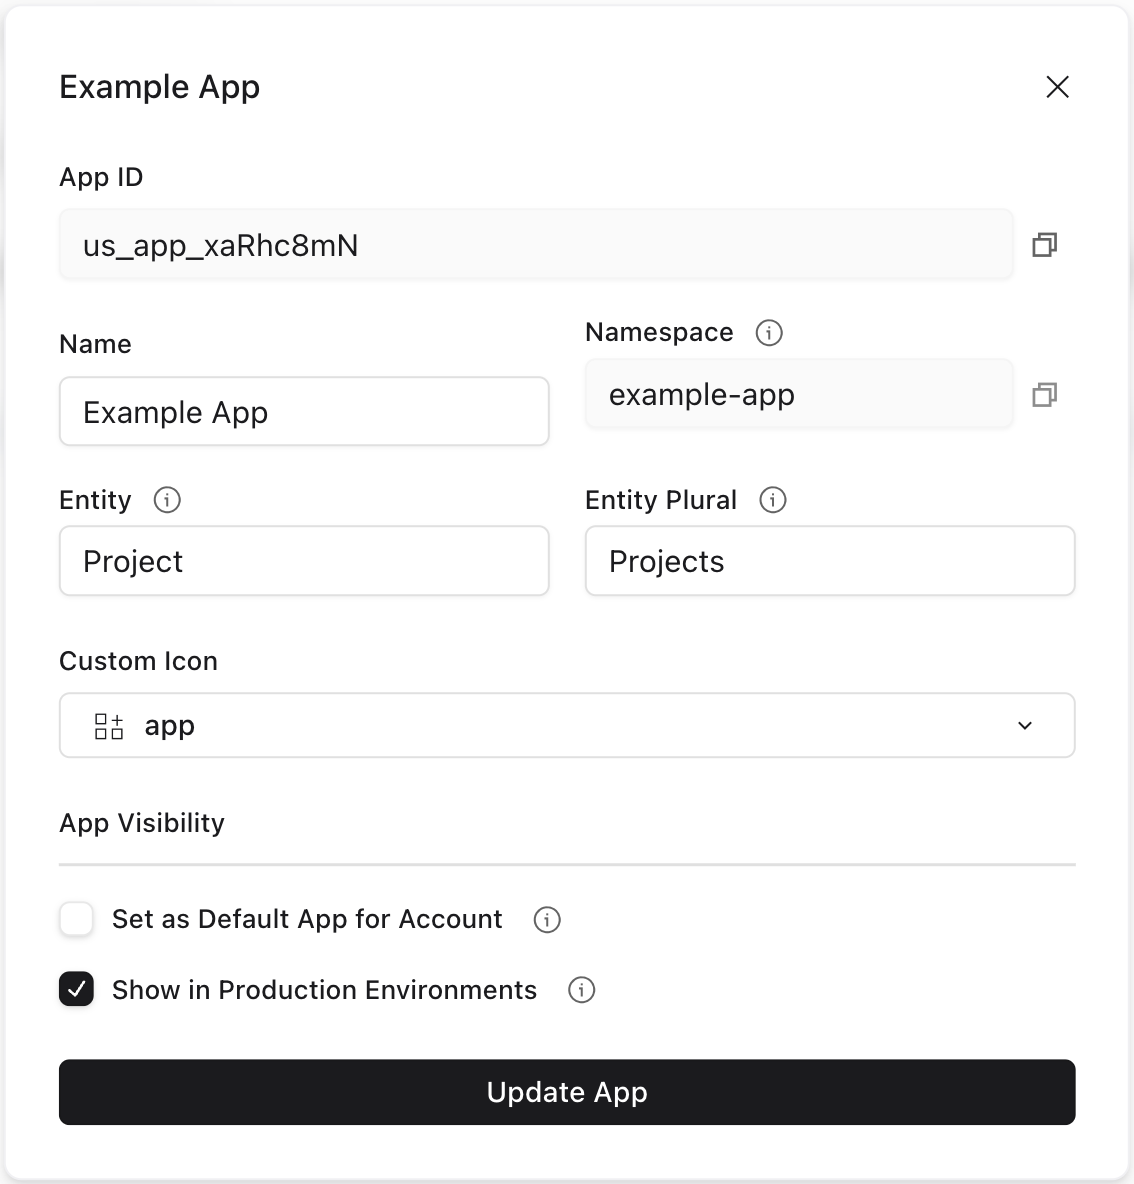
App settings with Spaces named "Projects"
Space Namespaces
Spaces can be assigned namespaces to control which listeners receive events from that space. This enables isolation between different parts of your application or different customers. See the Namespaces and Filters guide for detailed examples and patterns.Space Configuration
For complete theming capabilities, see our comprehensive Theme Your Space guide.
space:configure Job for you to configure the Space. In your job listener, you can create workbooks, sheets, and actions, as well as configure the Space’s theme and metadata. This workbook and sheet configuration defines your Space’s Blueprint - the data schema that controls how your data should look, behave, and connect.
In this example, we’ll show the full Job Listener lifecycle implementation, complete with
ack to acknowledge the job, update to update the job’s progress, and complete or fail to complete or fail the job.As in other places throughout the documentation, you could use the Job Handler plugin to handle the job lifecycle for you. This may be useful if you have a particularly complex space configuration with custom logic, but don’t need complete control over the job’s entire lifecycle.However, for most implementations, we recommend using the Space Configure plugin. This plugin takes care of even more of the heavy lifting for you; not only does it handle the Job lifecycle, but it also takes care of all of the API calls necessary to configure the Space and create its Workbooks and documents.With this plugin, you can configure your entire space with a single configuration object rather than perforing any API calls.For example, this listener implementation configures a space with a Blueprint containing two workbooks and a Welcome Guide document – both defined in another file – as well as adding some light theming: